Lab grown diamond cut quality control is the stage that decides whether a stone will look brilliant or flat long before any prong is bent. Many buyers assume sparkle is created at the setting bench, but in reality the bench can only protect what the cutting process has already established. At our factory, cut quality and symmetry are measured, adjusted, and signed off before a diamond is ever handed to a setter, and that discipline is the real reason our finished jewelry looks consistent batch after batch.
This guide walks through the steps a setting factory takes to control cut and symmetry upstream, why those checks matter for both beauty and security, and what retail buyers should ask before approving a production run. If you are still building your understanding of cut grading, our overview of the best cut grade for lab-grown diamonds explains why cut should be prioritized over color and clarity.
Why cut quality control happens before the bench, not at it
A setter cannot fix a poorly cut stone. If the crown angle is too steep, the pavilion too shallow, or the facets misaligned, no amount of prong work will make the diamond return light evenly. The setter’s job is to hold the stone securely and expose it to light; the cutter’s job is to make sure that light comes back to the eye. Lab grown diamond cut quality control is what bridges those two responsibilities.
At our factory, every stone that enters the earring and ring line has already passed a cut and symmetry review. Stones that fail are sent back to polishing or rejected. This is the same logic we explain in our breakdown of the precautions in the loose diamond polishing process: the polishing stage is where optical performance is actually created.
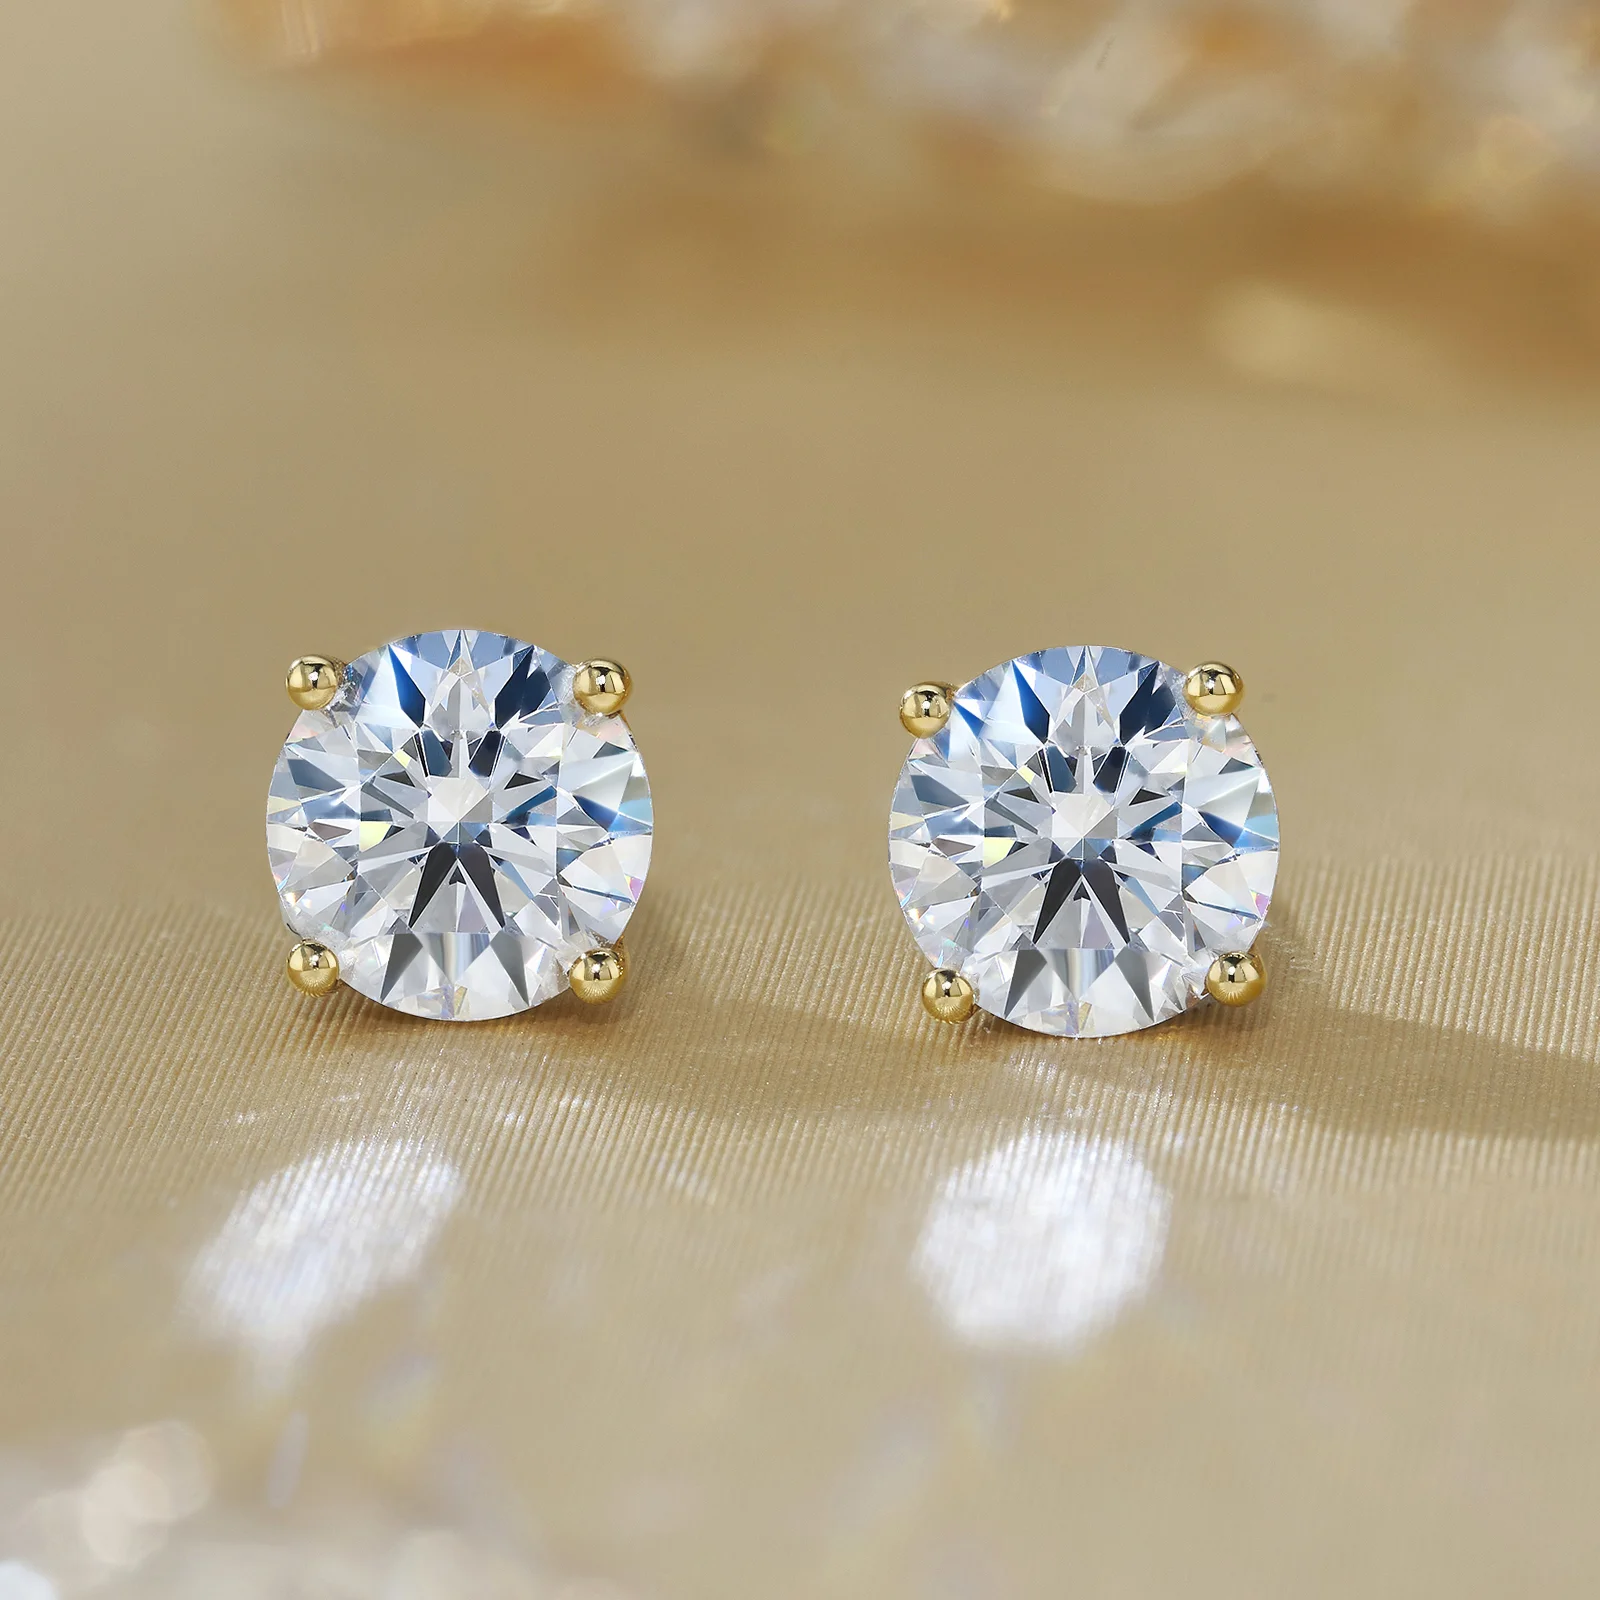
The five checkpoints in lab grown diamond cut quality control
Our quality control process is not a single inspection at the end. It is a series of checkpoints that run from rough selection through to the moment a stone is released to the setting bench. Each checkpoint has a clear pass-or-fail standard.
1. Rough selection and orientation
Cut quality begins with the rough. A lab-grown rough crystal has a specific grain and growth direction, and the planner decides how to orient the polished stone within that crystal to maximize yield without sacrificing proportions. A bad orientation decision can lock in a steep crown or a heavy pavilion that no later step can fully correct. Our planners use 3D mapping to preview the polished result before a single facet is cut.
2. Proportion mapping during bruiting and blocking
Once the rough is bruted (rounded) and blocked (the main facets are set), the proportions are measured against the target ranges for table size, crown angle, pavilion angle, and total depth. These numbers are not cosmetic; they directly determine how light travels inside the stone. For round brilliants, our factory targets the ranges that produce an Excellent cut grade, as explained in our guide to the best cut grade for lab-grown diamonds.
3. Symmetry inspection after brillianteering
Brillianteering is the stage where the remaining facets are cut and the stone reaches its final facet count. This is where symmetry is decided. Our inspectors check facet alignment under magnification, looking for off-center tables, uneven girdles, misaligned mains, and facet pointing errors. A stone can have excellent proportions but poor symmetry, and the result is a diamond that sparkles unevenly or shows dark patches under certain lighting.
4. Polish grade assessment
Polish is the final surface finish on every facet. Poor polish leaves microscopic drag lines or burn marks that scatter light and reduce contrast. Our factory checks polish under 10x magnification and rejects stones with visible polish lines on the table or crown facets. This matters more than many buyers realize: a stone with Excellent proportions but only Good polish will still look slightly hazy. Our article on how to compare lab-grown diamonds with the same specs shows why polish is one of the details that separates two stones with identical certificates.
5. Final light-performance verification
Before a stone is released to the setting line, it goes through a final visual check under controlled lighting. The inspector looks for even brightness, balanced contrast, and the absence of light leakage through the pavilion. This is also the stage where the stone is matched to its partner for stud earring pairs, because two stones with the same certificate can still look slightly different face-up. Buyers who want to understand how that matching works in practice can read our overview of the customized process from loose grown diamonds to jewelry.
How symmetry is measured and why it matters
Symmetry is the most overlooked part of lab grown diamond cut quality control, yet it has an outsized effect on how a stone performs. Symmetry refers to the exactness of facet alignment, the evenness of the girdle, and the concentricity of the table and culet. When symmetry is off, light exits the stone at the wrong angles and the sparkle pattern becomes uneven.
For round brilliants, symmetry is graded on the certificate (Excellent, Very Good, Good, Fair, Poor). For fancy shapes, there is often no formal symmetry grade, so the factory must rely on visual inspection and proportion analysis. This is one reason we recommend that buyers of fancy-shaped stones always request real videos rather than trusting the certificate alone. Our guide to how to verify a lab-grown diamond certificate online walks through what to check and what to question.
Common symmetry faults our factory rejects
- Off-center table – the table is not centered over the culet, creating an asymmetrical facet pattern.
- Wavy girdle – the girdle is not flat and even, which can cause prong seating problems later.
- Misaligned crown and pavilion facets – facets that should meet at a point instead overlap or leave a gap.
- Tilted table – the table is not parallel to the girdle plane, tilting the entire light-return pattern.
Any of these faults can make a stone look smaller, darker, or less lively than its certificate suggests. That is why our cut quality control process treats symmetry as a hard gate, not a suggestion.
How cut quality control protects the setting stage
Good cut quality control does not only protect brilliance; it also protects the setting process itself. A stone with an uneven girdle is harder to seat cleanly in a basket, because the prongs cannot grip a consistent surface. A stone with a tilted table will sit crooked in the head no matter how carefully the setter works. And a stone with a very thin girdle is at higher risk of chipping when prong pressure is applied.
By catching these issues before the stone reaches the bench, our factory reduces the two failures that hurt jewelers most: stones that look dull and stones that loosen or chip after setting. Buyers who want to extend that protection to the end customer should also pass along a simple care routine; our guide on how to care for a lab-grown diamond ring includes a prong-check method that applies equally to earrings and pendants.
Cut quality control for fancy shapes
Round brilliants have the advantage of a standardized cut grading system, which makes quality control more straightforward. Fancy shapes – oval, pear, marquise, emerald, cushion, princess – do not have the same universal grade, so lab grown diamond cut quality control for these shapes relies more on proportion analysis and visual judgment.
For example, a princess cut lab-grown diamond must have protected corners and even corner alignment, because the corners are where V-prongs will grip. An oval must be checked for the bow-tie effect, a dark shadow across the center caused by light leakage through steep pavilion angles. A marquise must have balanced symmetry at both points, or the stone will look lopsided once set. Our buyer’s guide to marquise cut lab-grown diamonds covers those shape-specific checks in more detail.
What buyers should ask a factory about cut quality control
If you are a retail buyer or a jeweler sourcing finished lab-grown diamond jewelry, the questions below will tell you whether a factory takes cut quality control seriously or simply passes through whatever the polishing workshop produces:
- What proportion ranges does the factory target for round brilliants, and how are they verified?
- Is symmetry inspected under magnification before stones are released to setting?
- How are fancy shapes checked for bow-tie, point alignment, and girdle evenness?
- Are stones paired by real appearance, not just by certificate specs?
- What happens to stones that fail the cut or symmetry check – are they re-cut, downgraded, or quietly set anyway?
The last question is the most revealing. A factory that re-cuts or rejects substandard stones is one that protects your brand. A factory that sets them anyway is one that will eventually generate returns and complaints. If you are also evaluating clarity tradeoffs, our article on when VS is better value than VVS explains how cut and clarity interact in real buying decisions.
Bottom line
Lab grown diamond cut quality control is the step that separates a factory that ships consistent, brilliant jewelry from one that ships inconsistent product and hopes the certificate does the selling. By controlling rough orientation, proportion mapping, symmetry, polish, and final light performance before a stone ever reaches the bench, a serious factory ensures that the setter is working with a stone that is already capable of looking its best.
For buyers, the takeaway is simple: ask your factory how it controls cut and symmetry upstream, and treat that answer as a core part of your sourcing decision, not an afterthought. Cut quality is not a line on a certificate; it is a process, and the factory that runs that process rigorously is the one whose product will keep selling.