Why a Three-Stone Ring Lives or Dies by Matching
A three-stone ring puts three diamonds side by side on the same finger, and the human eye is unusually good at comparing things that sit next to each other. When the center stone is one shade warmer, one cut grade looser, or one tenth of a millimeter higher in the setting than its neighbors, the ring does not read as “almost perfect” — it reads as off. Buyers notice the mismatch before they can name it.
This is why three stone lab grown diamond ring setting is a precision job, not a layout job. At our factory bench, the work is less about placing three stones and more about making three independently grown diamonds behave as though they were cut from the same rough. That means matching cut proportions, matching color, and matching how high each stone sits in its prongs — all to tolerances tighter than a single-stone ring ever demands.
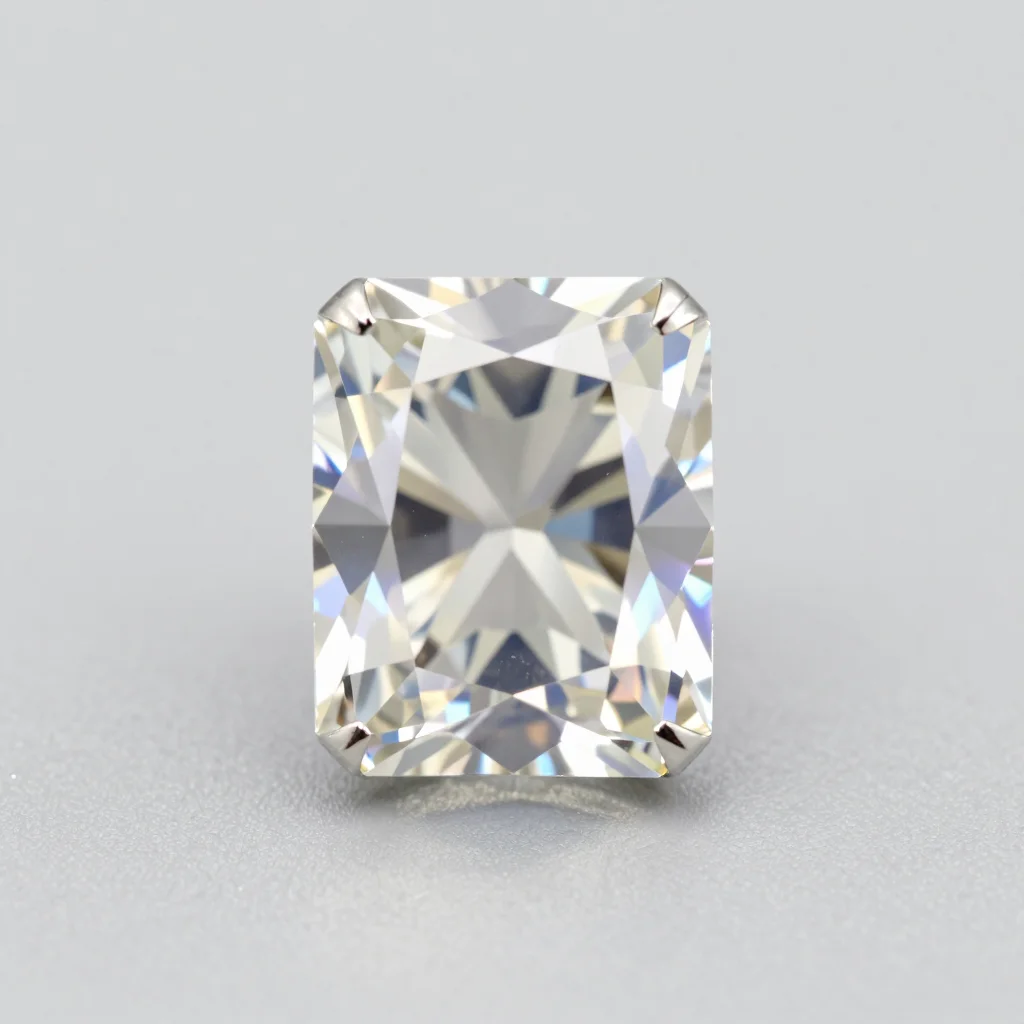
Start With Three Stones That Actually Match
The matching problem starts before any metal is touched. Lab-grown diamonds are grown in separate reactors, so even two stones with the same certificate grade can look different face-up. A G/VS2 from one CVD batch and a G/VS2 from another can show different tints and different brightness once they sit shoulder to shoulder.
Three rules we apply when picking the trio:
- Match color first, then clarity. Color mismatch is the first thing a buyer sees. We hold all three stones to within one shade and prefer the same fluorescence response. Clarity matters less once you are at VS2 or better — see our guide on when VS is better value than VVS. For the color side of the same decision, our breakdown of D-F vs G-H lab grown diamonds explains why a half-grade drift is visible across three stones but invisible on one.
- Match diameter, not carat. Two 0.50 ct rounds can differ by 0.1 mm in diameter, and on a three-stone ring that difference is a visible step. We sort by measured millimeter diameter — the same approach we use for channel setting bands and micro pavé.
- Match the cut, not just the grade. This is the part most factories skip — and it is the whole point of this article.
Matching the Cut: Same Grade Is Not the Same Cut
Two “Excellent” cut rounds are not the same stone. The cut grade on a certificate is a band, not a point. Inside that band, table percentage, crown angle, pavilion angle, and lower-girdle length all move around, and each of them changes how the stone returns light. Put one Excellent with a 57% table next to another Excellent with a 59% table and the second stone will look slightly darker in the same lighting — exactly the kind of drift a three-stone layout exposes.
For a three-stone ring we match the cut, not the grade:
- Table and depth within about one point. We hold table% and total depth% within roughly one point across all three stones. Our deeper guide to the best cut grade for lab-grown diamonds covers why these two numbers drive face-up size and brightness more than the grade itself.
- Crown and pavilion angles paired. A steep crown with a shallow pavilion looks different from a shallow crown with a steep pavilion, even when the total depth is identical. We pair the angles, not just the totals.
- Symmetry and polish one grade apart at most. Below Excellent symmetry, the facet pattern stops aligning and the stone loses the crisp “click” of light return that lets three stones read as one. Read how we control cut quality and symmetry before a stone reaches the bench.
Fancy shapes are harder. A three-stone ring with an oval or emerald center and tapered side stones asks for length-to-width ratio matching too — a 1.45 ratio oval next to a 1.55 ratio side stone looks like a different design. Our oval engagement ring and emerald cut lab grown diamond guides go deeper on ratio matching for those shapes.
Matching Prong Height: All Three Stones Must Sit Level
Cut matching decides whether the three stones look the same. Prong-height matching decides whether they sit the same. A stone that is 0.2 mm higher in its head catches more light, throws a longer shadow onto its neighbor, and makes the ring look tilted even when the shank is perfectly flat.
On a three-stone ring the prong work is harder than on a solitaire for one reason: the three heads are independent, but they have to read as one plane. We set prong height against a reference, not by eye:
- Set the center first, to the customer’s preferred sit. The center stone’s table height fixes the plane everything else is matched to. How high is “right” depends on the head style — our comparison of prong setting vs bezel walks through how head geometry changes the sit.
- Pull the side stones to the same girdle-to-table distance. We measure from the basket rail to the table on each head and bring the side stones to the center’s number, typically within 0.05 mm. This is the same prong-control discipline we apply to lab-grown diamond stud earrings, where paired stones also have to match.
- Match prong count and prong stock across the three heads. A four-prong center with four-prong sides reads as one design; a four-prong center with three-prong sides reads as three separate decisions. Prong wire gauge must match too, or the side prongs look spindly next to the center.
- Burnish prongs to a uniform tip. Prong height is only half the job — the visible prong tip size must match across all heads, or the eye reads the prongs as a pattern and any outlier stands out.
How the Three Heads Are Aligned on the Shank
Once the stones are matched and the heads are built, the three heads have to be soldered onto the shank in one straight, level line. A three-stone ring fails more often at this stage than at the stone-matching stage:
- Head spacing follows the stone diameters. The gap between the center and side stones should be even — small enough that the stones relate to each other, but not so small that the prongs of one head crowd the next.
- All three tables on the same plane. We check this with a straightedge across the three tables before final tightening. A center stone that dips even 0.1 mm below the side stones makes the ring look like it is folding in the middle.
- Heads perpendicular to the shank. A head leaned even a few degrees toward the center makes that stone look larger and its neighbor look smaller — the mismatch shows up in photos immediately.
This level of structural precision is why three-stone work sits closer to tension setting than to a simple prong stack: the geometry has to be right to the tenth of a millimeter, because there is no single dominant stone to hide behind. It is also why a three-stone ring is unforgiving of the kind of seat-tolerance drift we describe for flush setting — except here the mismatch is visible from across the room.
Common Failures (and How We Prevent Them)
- One stone reads darker. Almost always a cut-proportion mismatch, not a color mismatch. Re-sort by table% and crown angle, not just by grade.
- One stone sits high. The head was set to eye, not to a measured reference. Re-measure girdle-to-table distance across all three and re-seat the outlier.
- Prong tips look uneven. Burnishing was done head-by-head instead of across the whole ring in one pass. We finish all prongs in one pass so the tip sizes match.
- The ring looks tilted. One head is leaned, or the shank is slightly twisted under the head cluster. Check with a straightedge before final tightening, not after.
- Side stones look smaller than they are. Usually a spacing problem — the side heads are set too far from the center, so the eye reads them as an afterthought.
Metal Choice Affects How Forgiving the Match Is
The metal under the three heads changes how much mismatch you can get away with. Platinum (Pt950) takes a crisp prong and shows color drift most honestly — good for a tight match, unforgiving of a loose one. 14K is the sweet spot for three-stone work: stiff enough to hold the prong heights stable over years of wear, warm enough in tone to soften a half-grade color drift between stones. 18K is softer, and the prongs can drift over time, which on a three-stone ring means the carefully matched plane slowly goes out of level. Our full comparison of 14K vs 18K gold engagement rings covers the durability math behind that choice.
Care and Repair: a Three-Stone Ring Is Not a Solitaire
A three-stone ring has three heads, six to twelve prongs, and three independent seating jobs. That is three times the prong-tightening points of a solitaire, and retightening one head without disturbing the matched plane takes a bench that understands the original tolerances. Everyday wear, cleaning, and storage matter more here too — a hard knock on one side stone can knock that head out of the shared plane and the ring will look tilted until it is re-leveled. Our guide on how to care for a lab-grown diamond ring applies, with the extra note that a three-stone ring should come back to the bench for a level check more often than a solitaire would.
Working With a Factory That Matches for a Living
A three-stone ring is one of the few designs where the bench’s matching discipline is visible to the customer every time the ring catches the light. The stones do not need to be expensive — they need to be sorted, cut-matched, and set to a shared plane by people who do this every day. That is the standard we hold to at our factory, and it is what makes a three stone lab grown diamond ring setting read as one ring instead of three stones bolted to the same band. If you are planning a three-stone piece and want the matching done right, contact us — we will sort the trio, match the cut, and set the prong heights to one plane before the ring ever leaves the bench.