What Is the Diamond Setting Process?
The diamond setting process is where a carefully cut lab-grown diamond finally meets its metal home — the moment a loose stone becomes a finished ring. It is the step that decides how securely the stone sits, how much light it lets through, and how long the finished piece will last. If you have ever wondered what happens between “I picked a diamond” and “I wear it every day,” this walkthrough covers the entire diamond setting process step by step — from the first design sketch to the final polish check.
In simple terms, the diamond setting process is the sequence of steps used to mount a diamond into a piece of jewelry so that it is held firmly, displayed beautifully, and protected from everyday wear. It includes choosing the right style of setting, preparing the metal, creating the mounting, seating the stone, and finishing the piece so every prong, bead, or channel looks clean and secure.
Different stones and different designs call for different approaches. A round brilliant solitaire, for example, moves through the process differently from a marquise or a pear shape with pointed tips. If you are still deciding which style fits your stone, our guide to which diamond setting is most durable is a good place to start before you commit to a design.
Step 1: Choose the Setting Style and Confirm the Stone
Every successful diamond setting process begins with decisions, not tools. Before any metal is touched, the jeweler needs to know:
- The exact measurements of the lab-grown diamond (diameter, depth, and pavilion angles)
- The metal type and color for the mounting
- The setting style — prong, bezel, flush, channel, or pavé
- How the ring will be worn, since daily wear affects which style is safest
This is the stage where a pointed stone like a pear or marquise needs special consideration, because its tip is the most fragile part of the diamond. A standard prong may not protect it properly — that is why many buyers choose a V-prong setting for marquise and pear lab-grown diamonds to shield the tip from impact.
If you are torn between a stone-hugging design and a raised prong design, compare the trade-offs in our article on flush setting vs bezel setting — it explains exactly how each style protects the stone.
Step 2: Create the Model and the Mold
Once the design is confirmed, the jeweler builds a detailed model of the mounting. Traditionally this was done in wax by hand, and hand-carving is still used for one-of-a-kind pieces. Today, most manufacturers also use CAD (computer-aided design) to create a precise digital model, which is then printed in wax with a 3D printer.
The wax model goes through several checks:
- Wall thickness is examined to make sure the prongs or bezel walls are strong enough
- Stone seat angles are verified against the diamond’s actual measurements
- Proportion and symmetry are inspected so the finished ring looks balanced
A flawed model produces a flawed mounting, so this step is never rushed. For custom designs, the model may be shown to the customer for approval before anything is cast.
Step 3: Cast the Metal Mounting
With the wax model approved, the mounting is cast in metal. The wax is attached to a sprue, invested in a plaster-like material, and burned out in a kiln, leaving a perfect cavity in the shape of the mounting. Molten metal — for example 18K gold, 14K gold, or platinum — is then forced into the cavity, usually with a vacuum or centrifugal casting machine.
After cooling, the casting is removed from the investment, the sprue is cut off, and the mounting is cleaned. The metal choice made back in Step 1 becomes very visible at this point: gold alloys differ in color, hardness, and wear behavior. If you are weighing options, our comparison of 18K vs 14K vs 9K gold for lab-grown diamond settings breaks down which alloy suits which lifestyle.
Step 4: Prepare the Stone Seats and Prongs
Now the mounting is ready to receive the diamond. The jeweler checks each stone seat and, with a bur, carefully cuts or adjusts the seats so the diamond sits level and at the correct height. For a prong setting, the prongs are filed thinner and shaped; for a bezel or flush setting, the metal walls are prepared to wrap the stone precisely.
This preparation work is where the diamond setting process gets exact. A seat that is too deep lifts the diamond too high; a seat that is too shallow exposes the girdle to damage. The jeweler works under magnification, checking the stone’s position from every angle before the diamond is even placed.
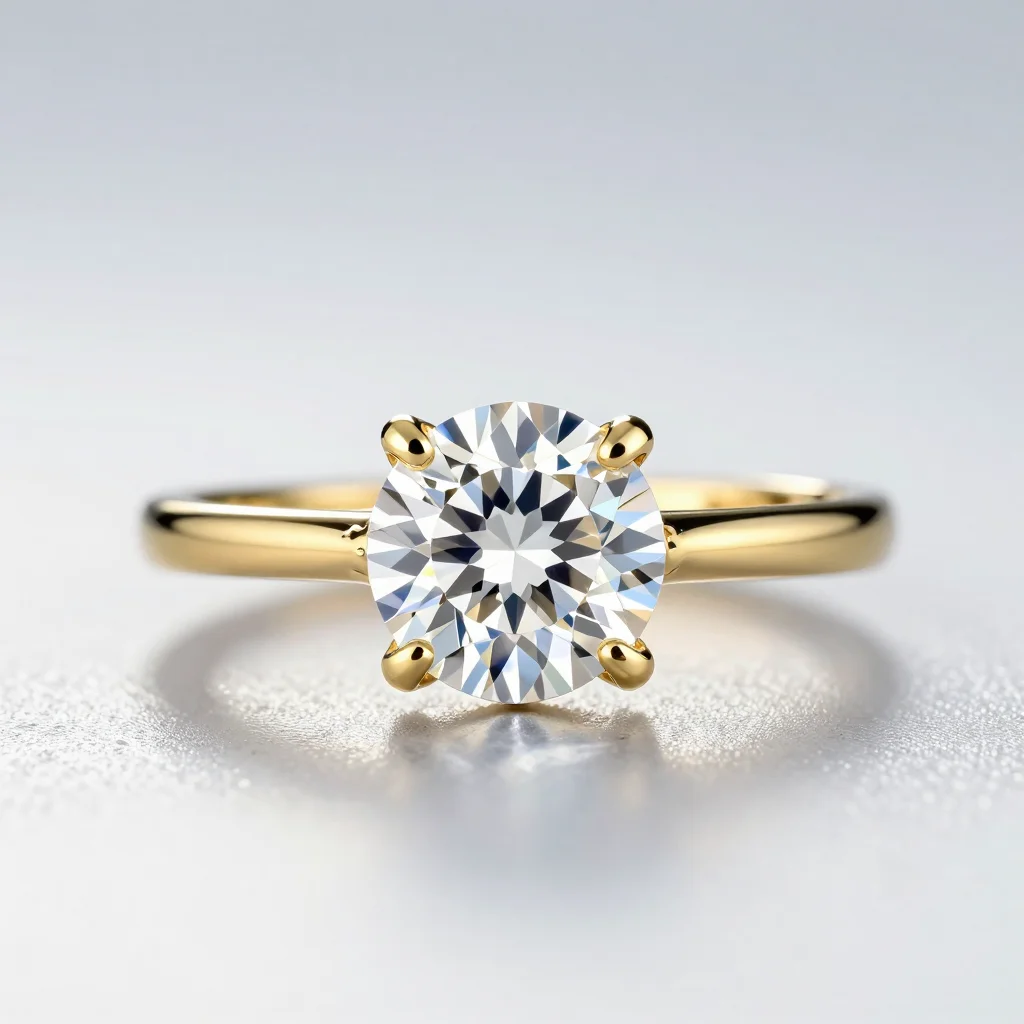
Step 5: Set the Diamond
The core of the diamond setting process — seating the stone — happens here. For a prong setting, the diamond is placed into its seat, and the jeweler uses a setting tool to bend each prong over the girdle one at a time, alternating sides so the stone stays perfectly level. For a bezel setting, a thin wall of metal is pressed or burnished over the diamond’s edge. For a flush setting, the stone is dropped into a drilled hole and the metal is pushed over the girdle with a beading tool.
After the stone is seated, the jeweler checks:
- Whether the diamond is level and centered
- Whether the girdle is covered evenly all the way around
- Whether the stone is held firmly without wobbling
A correctly set diamond should not move, rattle, or catch on clothing. The tension is a balance: tight enough to hold the stone securely for decades, but not so tight that it stresses the diamond or the metal.
Step 6: Final Polish, Inspection, and Quality Control
The last stage of the diamond setting process is finishing. The jeweler polishes the prongs and metal surfaces, removes tool marks, and cleans the piece thoroughly — usually in an ultrasonic cleaner followed by a steam rinse — so the diamond sparkles at its full potential.
Then comes quality control, and this is not a quick glance. The finished ring is checked under magnification for:
- Prong tips that are even and properly rounded
- Metal that is free of porosity or cracks
- A stone that is level, centered, and completely secure
- Clean, sharp edges on channel or pavé work
How thorough this check is matters enormously. Some defects only show up under magnification or after wear testing, which is why reputable manufacturers run multiple checks before shipping. You can see what those checks look like on the factory floor in our article on how a factory catches setting defects before shipping.
Why the Diamond Setting Process Matters for Long-Term Wear
The quality of the diamond setting process decides how your ring looks in year one and how it holds up in year ten. A well-set stone stays tight, keeps its brilliance, and protects the diamond’s edges; a rushed job can lead to loose stones, chipped girdles, or prongs that wear thin over time.
If you notice a prong looking thinner than it used to, don’t wait — catching wear early is far easier than repairing it later. Our guide on prong wear and when a diamond setting needs prong thickness restored explains the warning signs and what a repair involves.
Conclusion: From Loose Stone to Finished Ring
The diamond setting process is a sequence of small, precise steps — design, model, cast, prepare, set, and finish — each one building on the last. When every step is done carefully, the result is a ring that holds your lab-grown diamond securely, shows it at its most brilliant, and stays beautiful for decades of daily wear.
Whether you are buying a ready-made piece or commissioning a custom setting, knowing the steps behind the process helps you ask the right questions — about prongs, metal, protection, and quality control — before you commit. And if you are sourcing stones directly, working with an experienced lab-grown diamond manufacturer means the diamond setting process is handled by people who understand both the rough and the finished piece.
Source From Our Factory
Wholesale Diamond Ring Settings – Buy Mounts Only is manufactured in-house at Wentworth Diamonds — request wholesale pricing or custom specifications.